¶ CCTV Viewer (Home | CCTV Viewer)
Use the View page to display and operate the traffic cameras. View multiple cameras at one time or select a single camera view.
.jpg)

¶ Controlling Cameras
With the single camera view the user can pan/tilt/zoom enabled cameras.
.jpg)

To control the camera, the user can use the Direction controls or, depending on the camera type, they can click on the viewing window and drag the mouse around to move the camera. The Speed slider determines the sensitivity of the camera movement. In addition, the user can click the "+" and "-" Zoom buttons to zoom the camera view in and out.
To define a preset, move the camera to show the desired view, type a name into the Preset field, and click the Save button. Once Presets have been defined, the user can click the Presets dropdown and select one to move the camera to that location.
¶ Web Views (CCTV | Web Views)
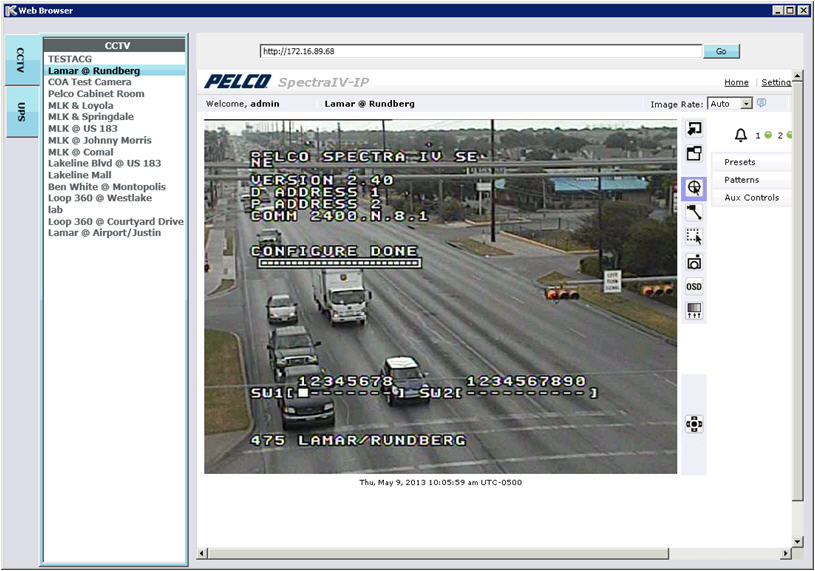
The CCTV Web Views form allows the user to view live camera feeds through an integrated web browser.


¶ Enabling Cameras for Web Viewing
To populate the list of Cameras, the user must set them to be Web Enabled and specify a URL for the camera on the Camera Definition form. Once this has been done, the camera will appear in the Web View list and the user can select it to browse to the URL specified by the Camera Definition form.
¶ Tours (CCTV | Tours)
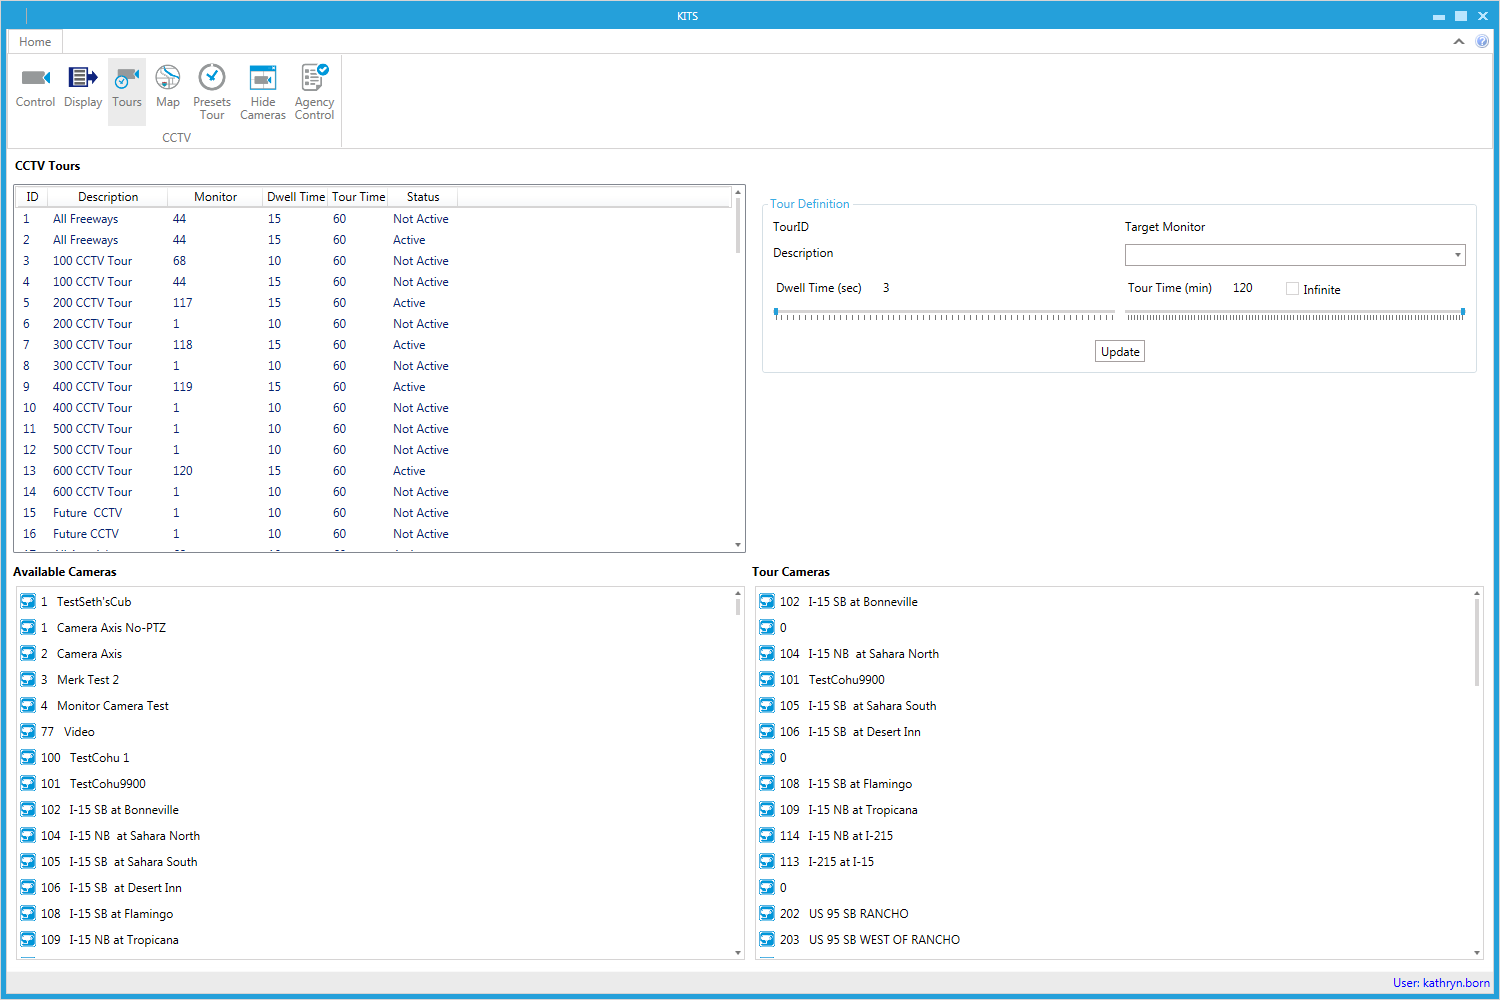
Use the CCTV Tours page to select and view a defined CCTV tour of multiple CCTVs. A tour may also be created or modified from this page.
In contrast, a Preset Tour moves a single camera through some or all of its presets.
In defining a CCTV tour, a meaningful description should be provided as identification of the tour. The interval to dwell on a CCTV can be specified. A total tour time may be specified as well, or it can be set to run indefinitely.
For users with appropriate permissions, cameras can be moved from the 'Available' list to the tour by clicking and dragging to the column on the right. Available cameras are ordered by ID. Cameras within the tour may be reordered by clicking and dragging.
